
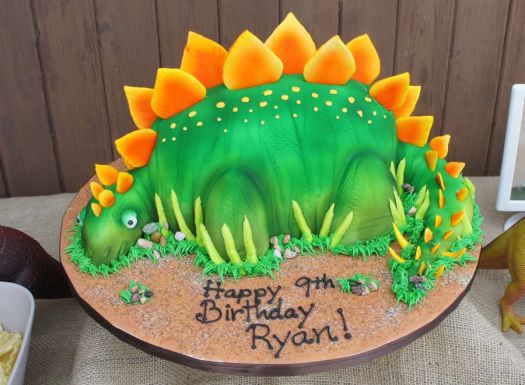
Fondant cakes are the most popular category when it comes to cake sales. Fondant is a thick paste made of sugar and water and often flavored or colored, used in the making of candy and the icing and decoration of cakes. You must have seen the cakes that are really tempting to eat and are decorated with lots of beautiful icing with different shapes and creatures. Those are called fondant cakes. Among these beautiful creations, 3D dinosaur cake is a really mesmerizing one, especially for children. If you are a baker and want to try these, I am sure your customers will love it! And if you are a mother and want to make it as a surprise birthday cake for your child then trust me, he will remember this birthday for a lifetime.
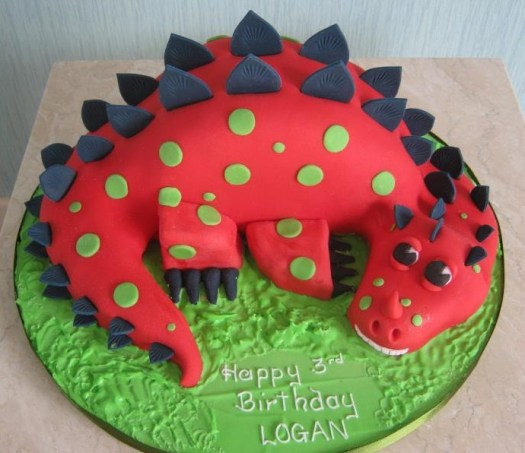
How to Make a 3d Dinosaur Cake with Fondant
Let’s get started!
Ingredients:
For a Basic Cake
2 cups of sugar
1 cup of butter
4 eggs
4 teaspoons vanilla extract
3 cups all-purpose flour
3 ½ teaspoons baking powder
1 cup milk
For a Basic Buttercream Icing
2 cups salted butter
6 teaspoons vanilla extract
8 cups powdered sugar
8 tablespoons whole milk or heavy cream
4 teaspoons meringue powder (optional)
Orange and blue food dye
For Decorations
Rolled fondant; look for multi-colored fondant at a craft store. You can also make your own.
Cinnamon red hot candies for the eyes
Candy corn for the tail spikes
Chocolate chips for toenails
Toasted coconut for the prehistoric grass
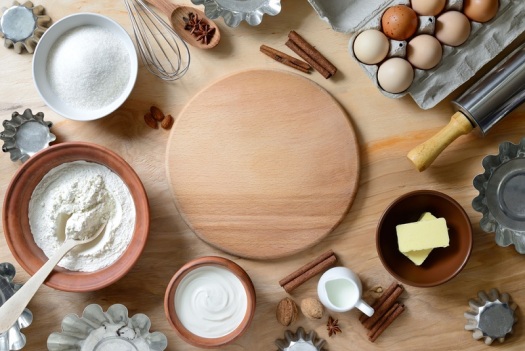
Recipe:
Step 1- Making the batter:
Mix all the ingredients above and make the batter. Use milk to thin the batter.
Step 2- Baking the cake:
Grease two pans and pour the batter into each pan. Preheat oven to 350 degrees. Place the pans in the oven and bake them up to 30 to 40 mins
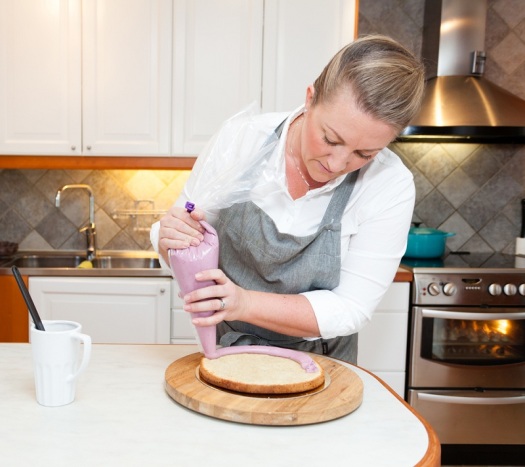
Step3- Buttercream icing:
Let the two cakes to cool and meanwhile make the icing. Mix cream into butter with vanilla. Slowly add powdered sugar. Add meringue powder for better bonding. Add milk to make the consistency as required of the batter. Pour them into frosting pans. 2/4 should be dyed green, ¼ should be white, and ¼ should be dyed blue.
Step 4- Assembling the dinosaur:
Print out a template from the computer for the dinosaur body parts and place it on one of the cakes. Cut out the body parts with the direction of the printout placed. Cut down the other cake in equal halves of two, this makes the body of the dinosaur. Assemble all parts in the required position.
Step5- Finishing:
Spread the frosting of blue and green color and cover the cake up completely. You can add a crumb coat too on it to give the scaly texture of the skin. Cut out stencils of dinosaur scales, eyes and nails from 1/8 inch thick frosting layer. Place it in the required positions.
And Tada! Your dinosaur 3D cake is ready to serve!!
Packaging:
Where there is so much of effort given on making and baking the cake, it is quite necessary to make sure your 3D cake is shipped in an undamaged way. For a single delivery with a rider you just need to pack it in a kraft box of the size of the cake. You can order your customized one at wholesale bakery packaging by thecustomboxes.
The real problem comes when you need to travel with the cakes or ship it. All you can do is to cover it up with tissue papers and bubble wrap. Just leave some space for air to pass. Air tight containers destroy them. Or you can make a mold of the thermopile and wrap it up with bubble wrap to make it safer.
Do give it a try and let us know the outcome!
